Homemade iPad Pro Magnetic VESA Mount
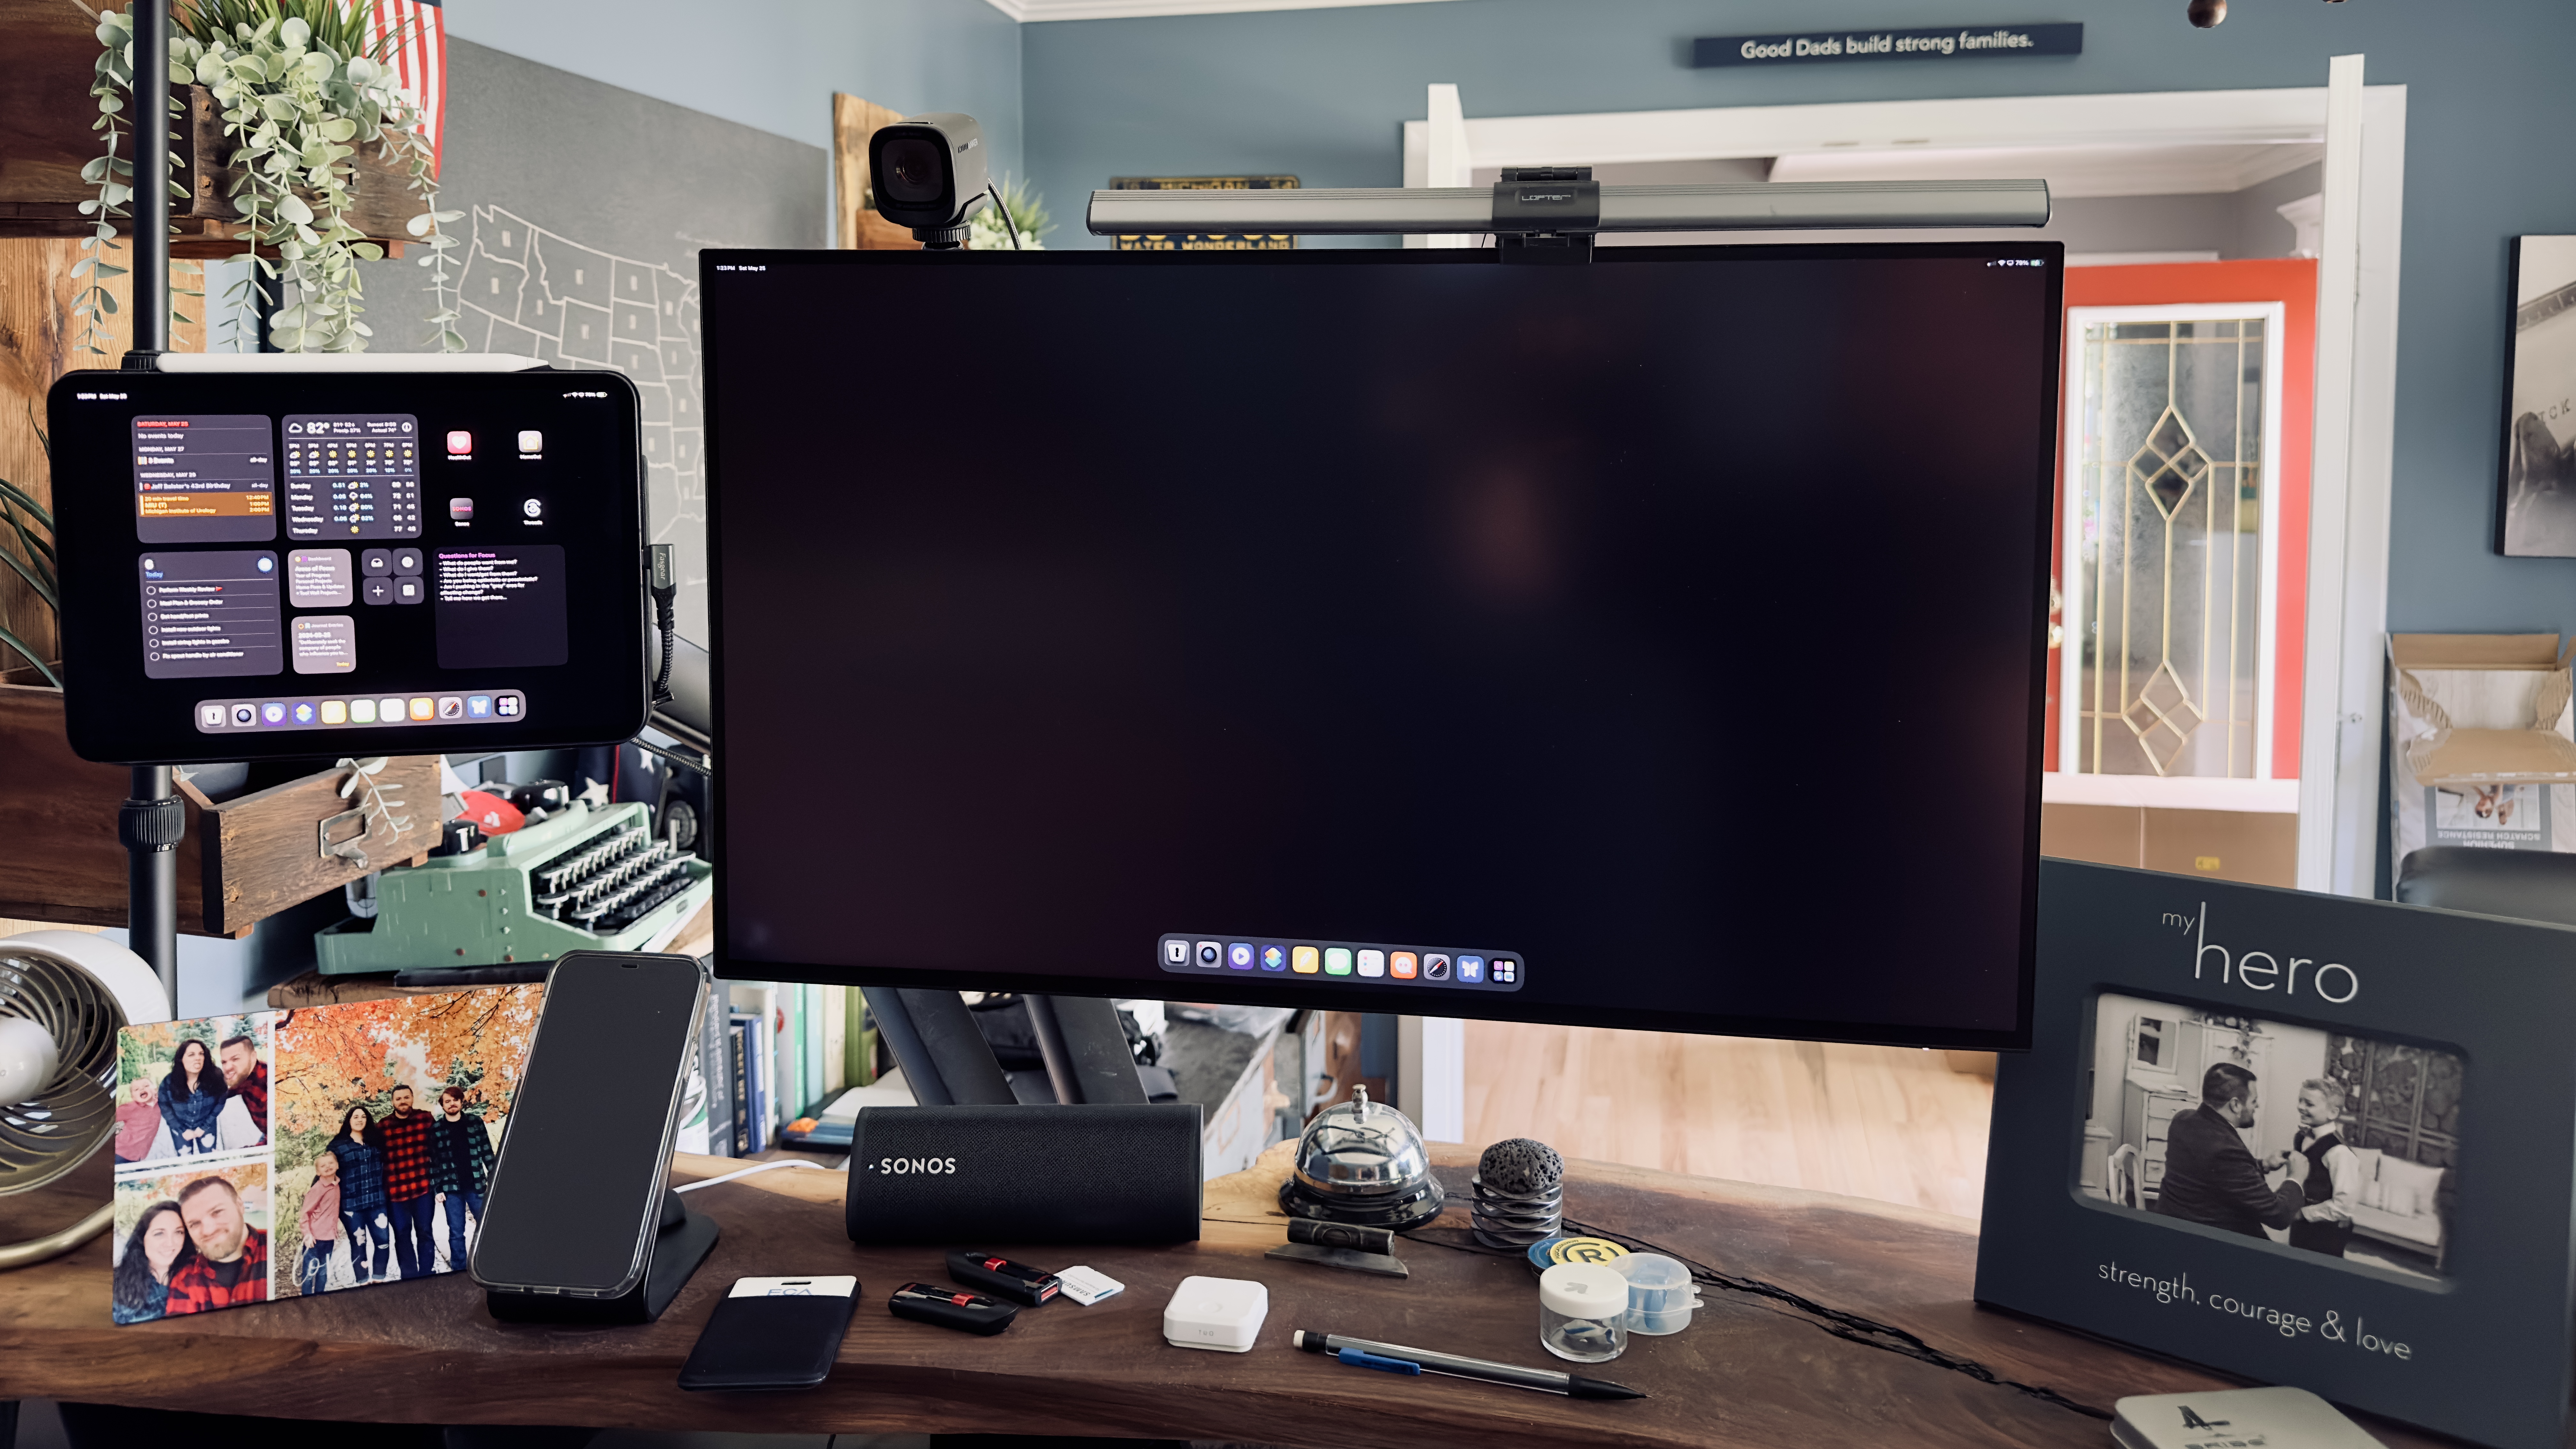
For a while now, I've had my iPad Pro next to a 27 monitor for my home setup. This is on a dual-monitor VESA Mount using a magnetic mount for the iPad Pro. It's been working out very well for a long while, given that I had the M1 12.9" iPad Pro.
So when the new iPad Pros were announced and I knew that I was going back down to the 11-inch size, I figured it might be a while until I had a magnetic mount again. But I remembered that there were multiple people out there that created their own in the past from a folio case and some wood. I know I'm a bit handy/creative, so I thought I could manage this pretty easily.
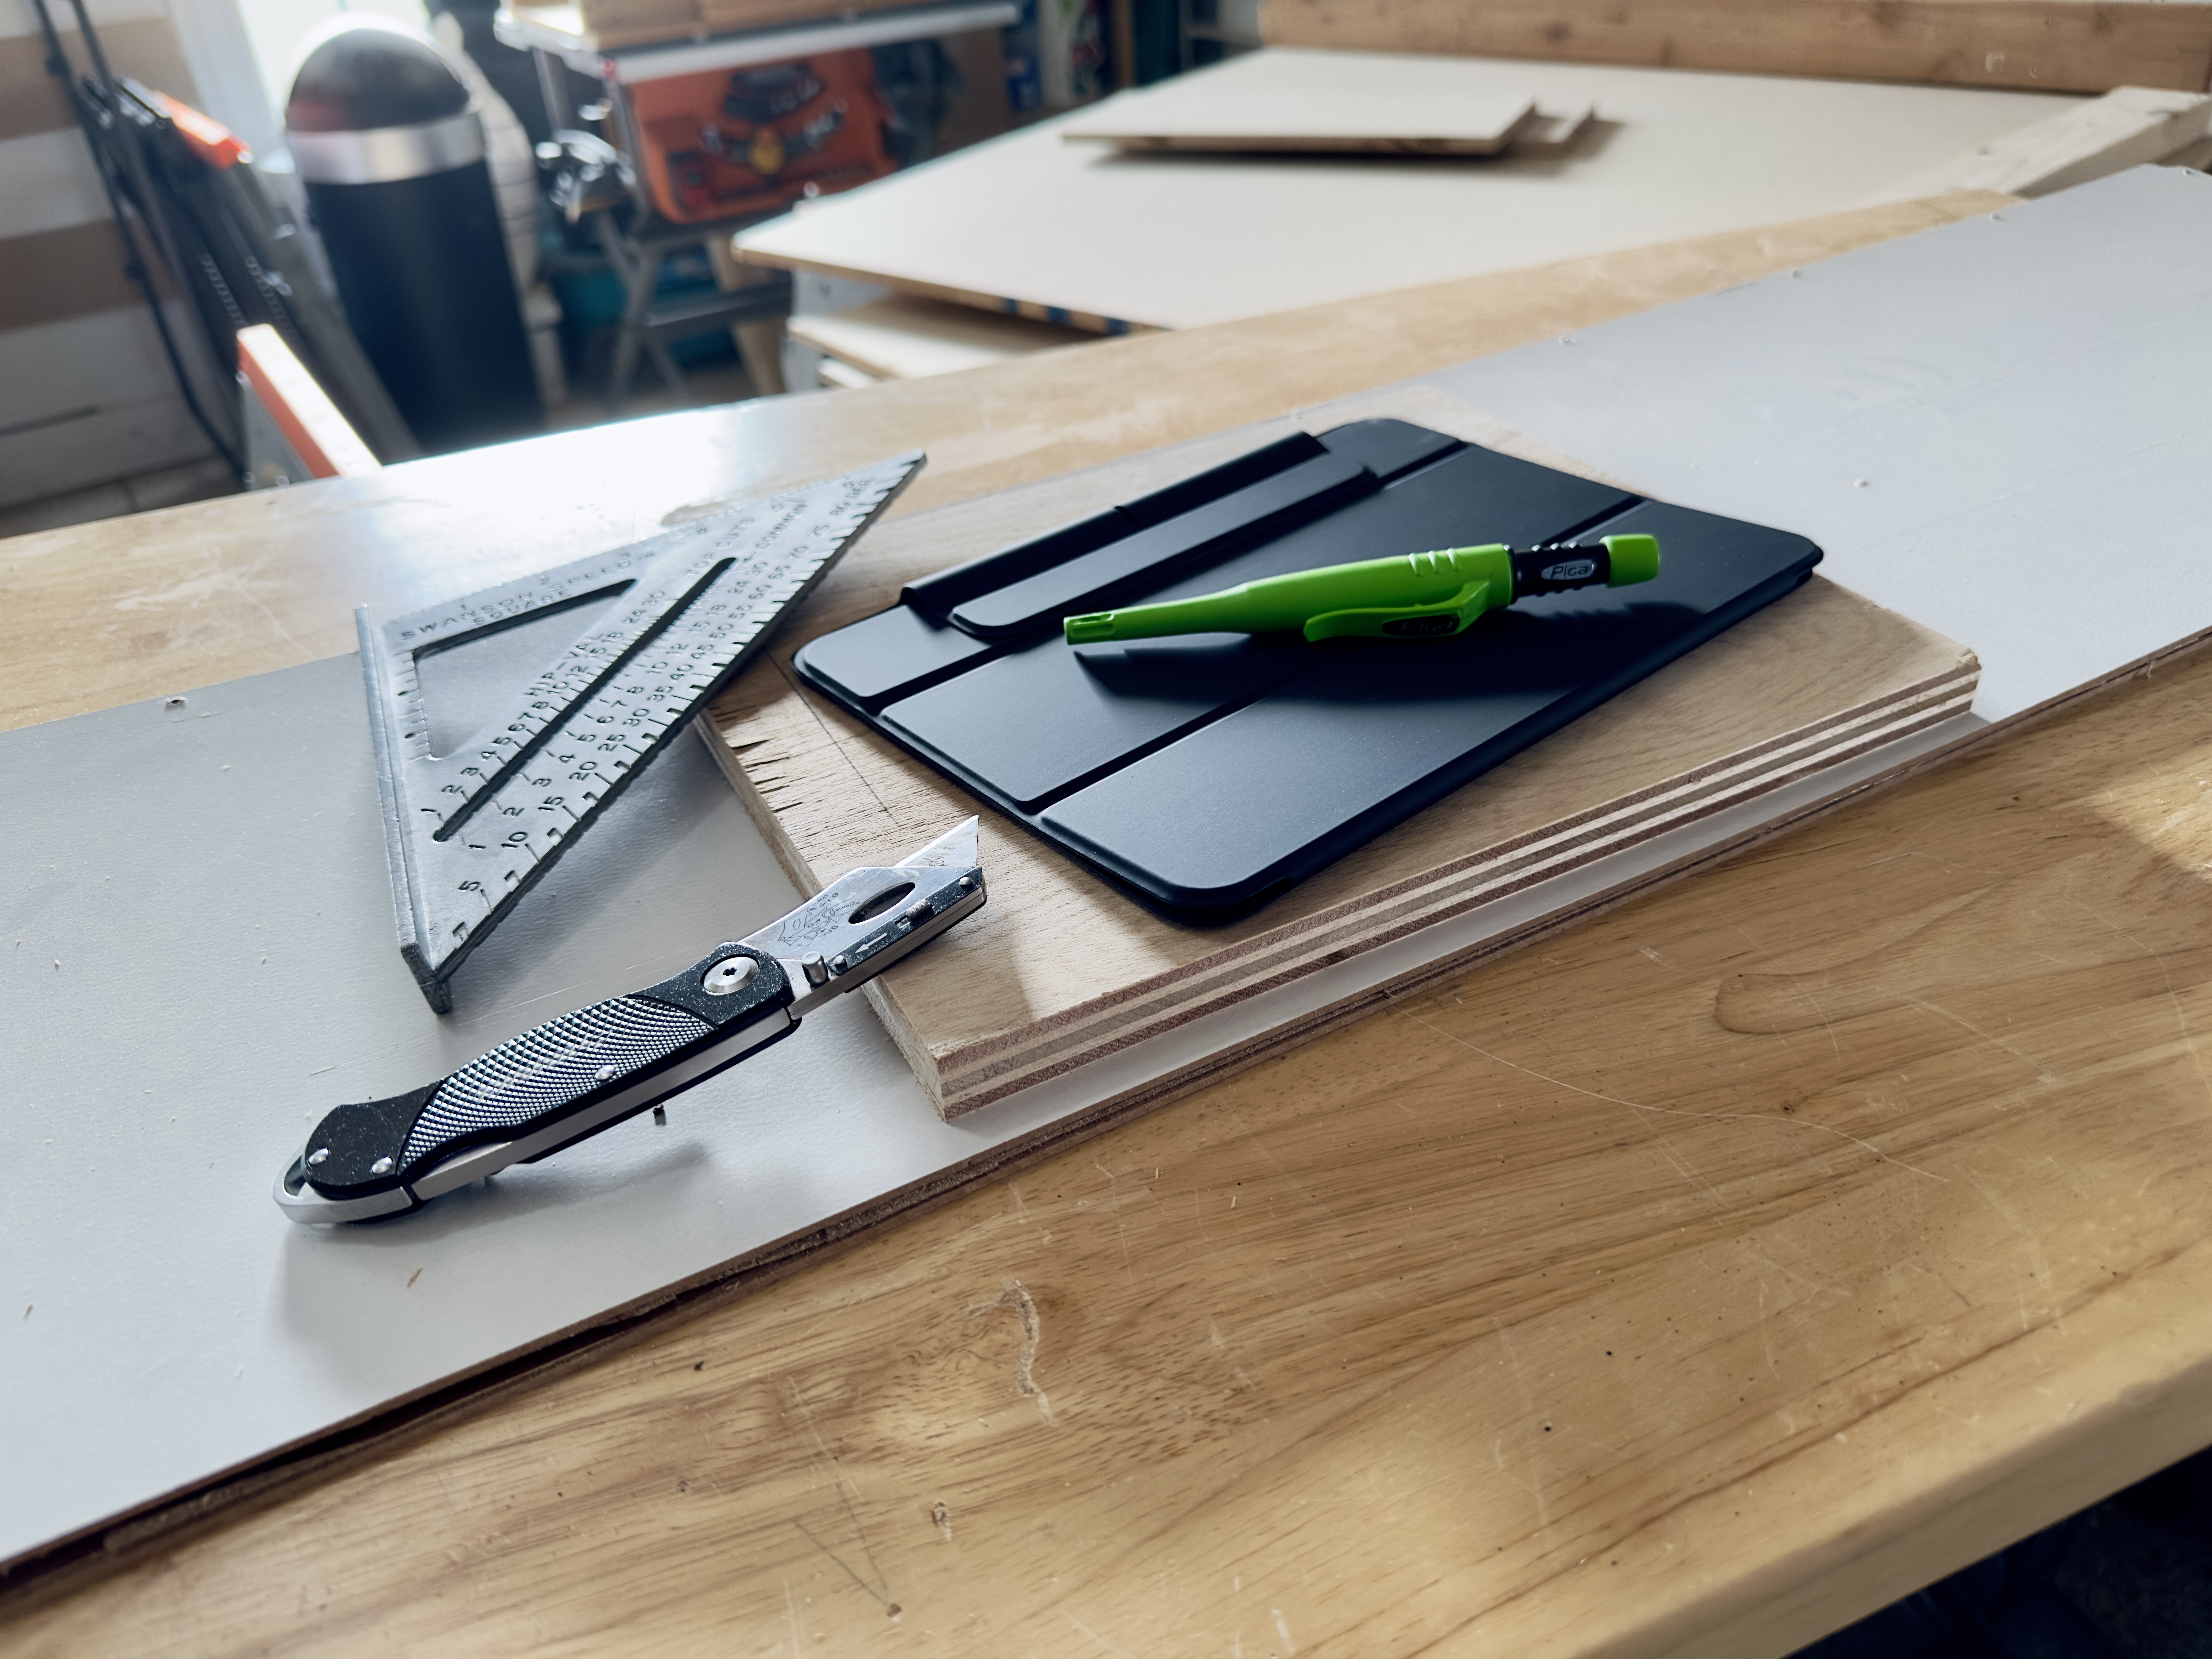
First, I needed to see if there were any magnetic smart folio cases. As was with my previous Pro, I quickly found the ESR iPad Pro Folio: not only is it just like Apple's – except for the new magnetic rails, which I expect them to create at some point – but it's also around a quarter of the price, with the added benefit of a protective magnetic flap for the Pencil. So I ended up ordering 2 of them, using one normally and one for this mount. I also knew that I needed to fasten the VESA mount plate. I added some M4 threaded inserts and socket head cap screws to my order to make sure I had everything on hand for easy assembly.
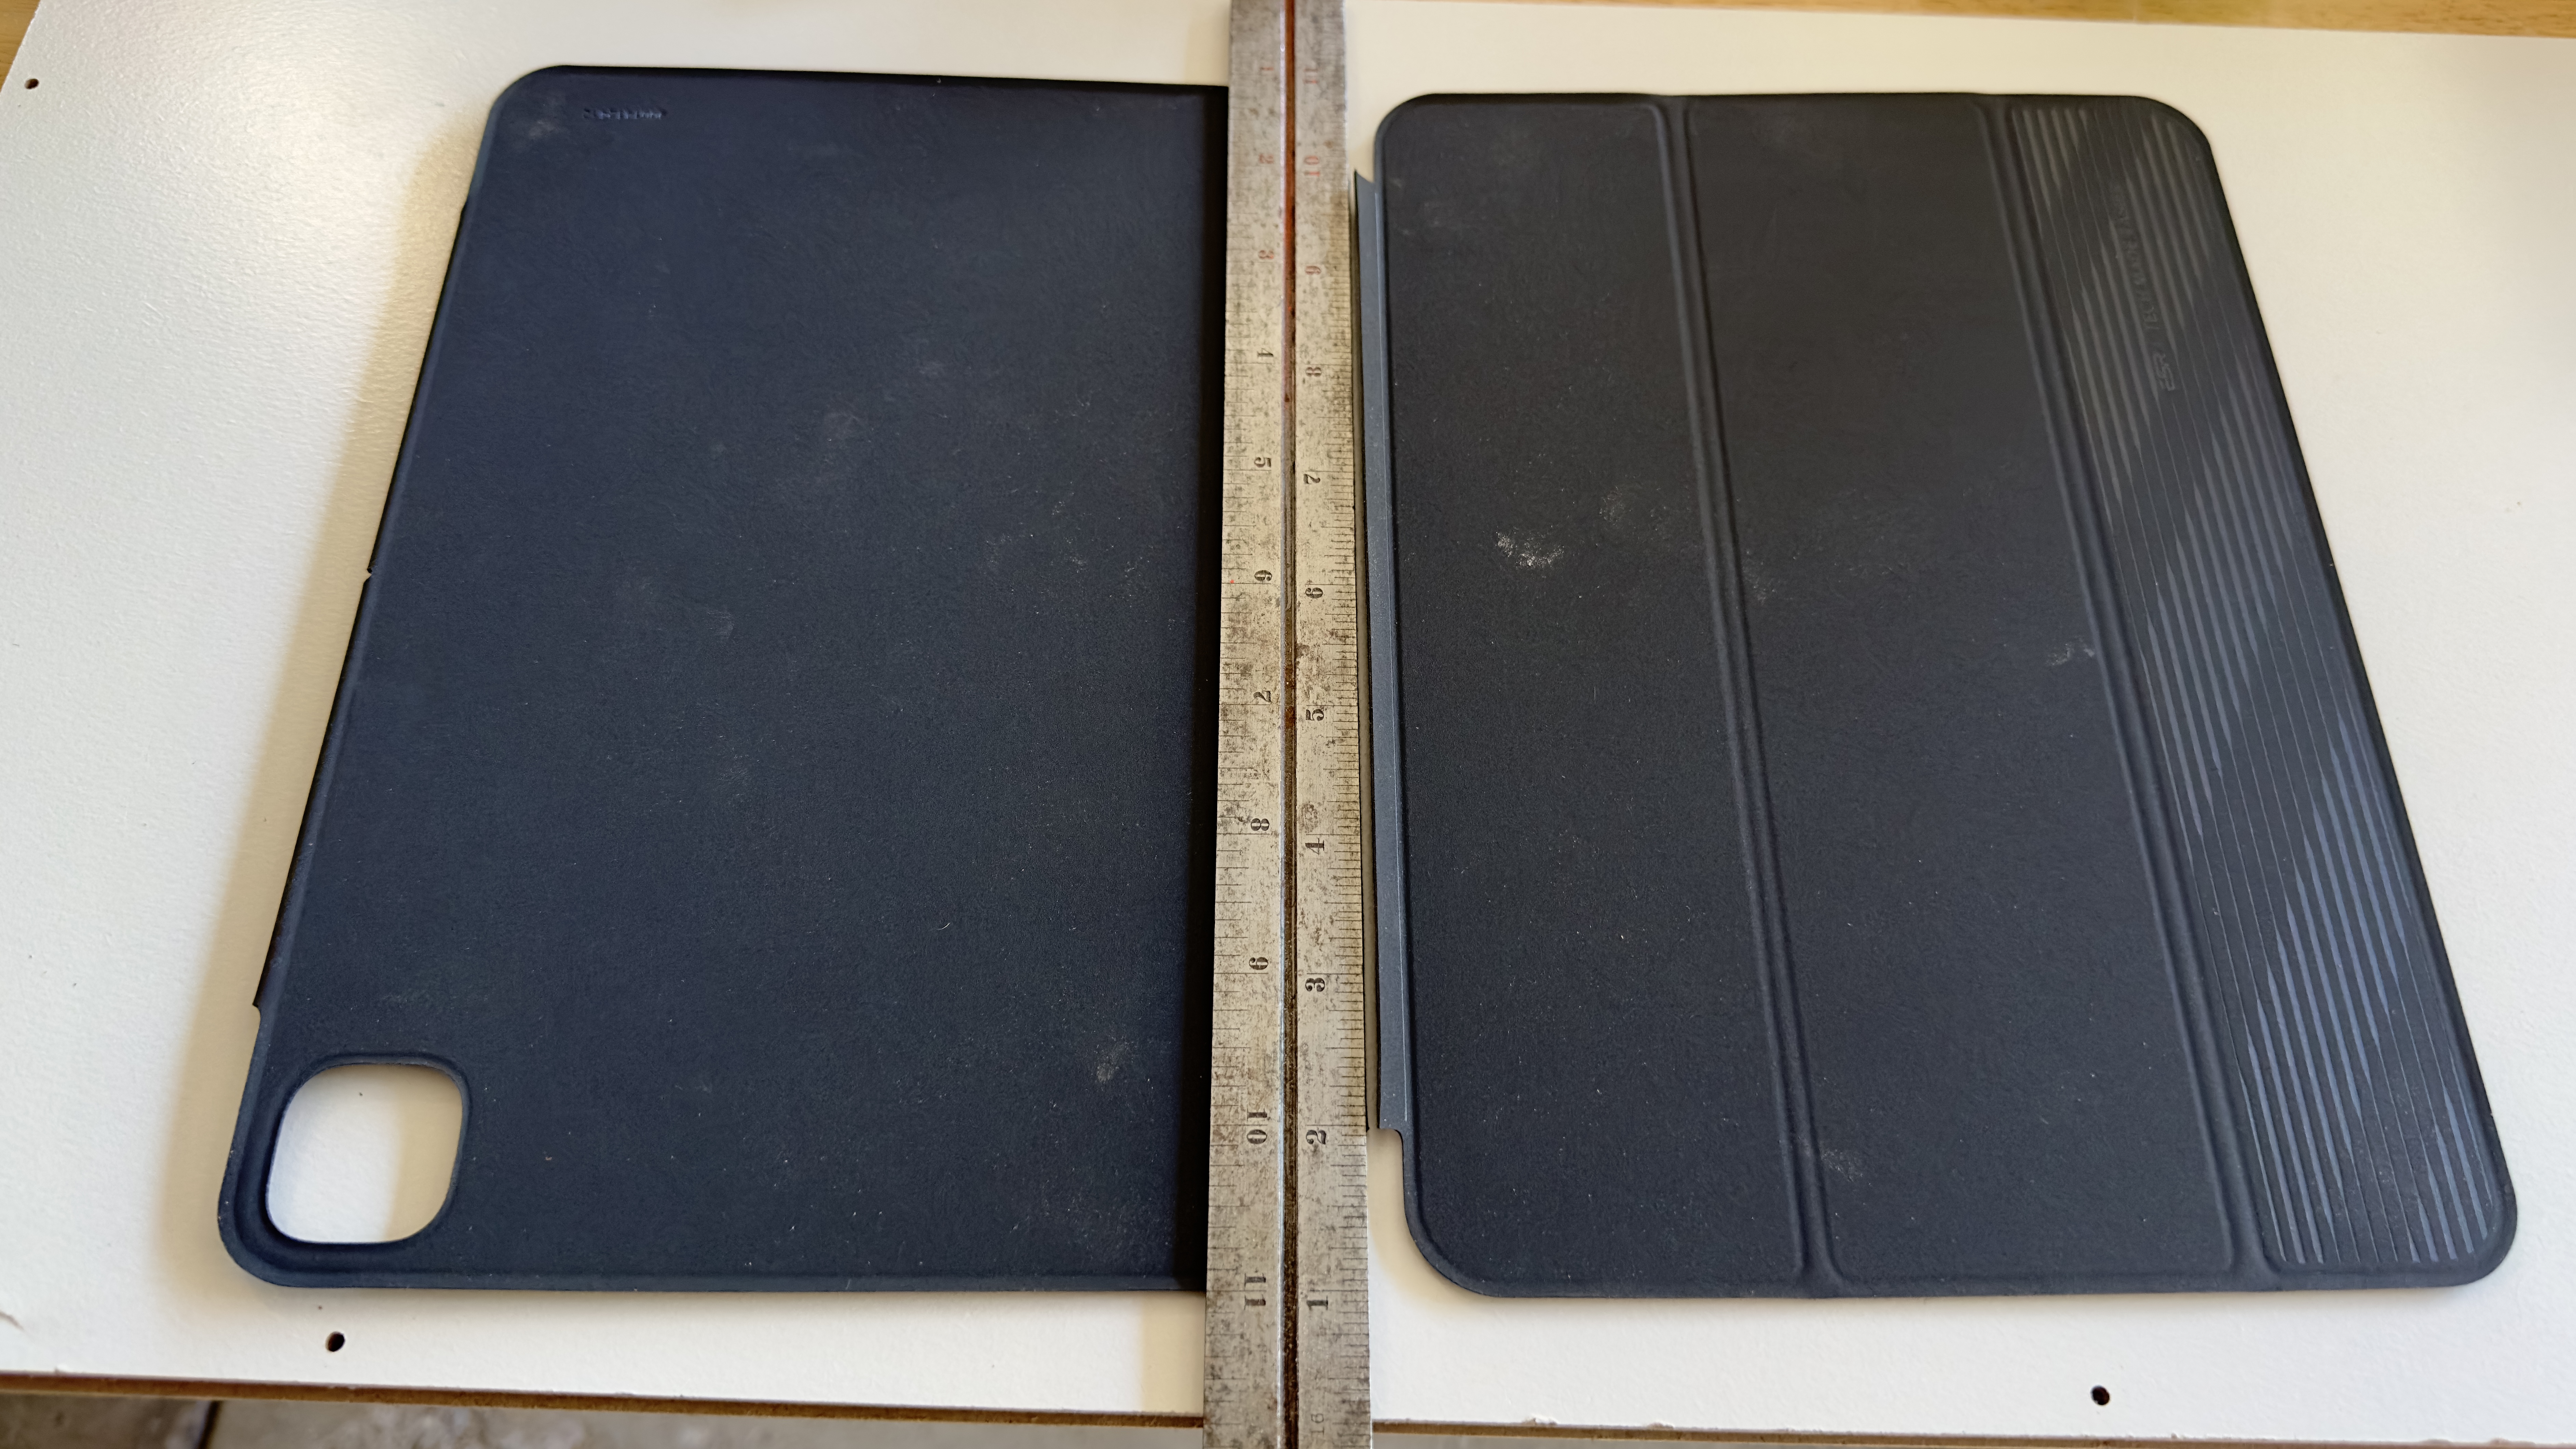
Next, and very delicately with a fresh utility knife blade, I used a ruler to align the cut of the folio case, splitting it in two. ProTip™: if you have a metal ruler, it sticks extremely well to the folio case and doesn't move while cutting. This gives the perfect outline and maximum attachment. I did think about cutting down the folio case back, but ultimately decided it would be more work to do everything cleanly and scrapped that idea.
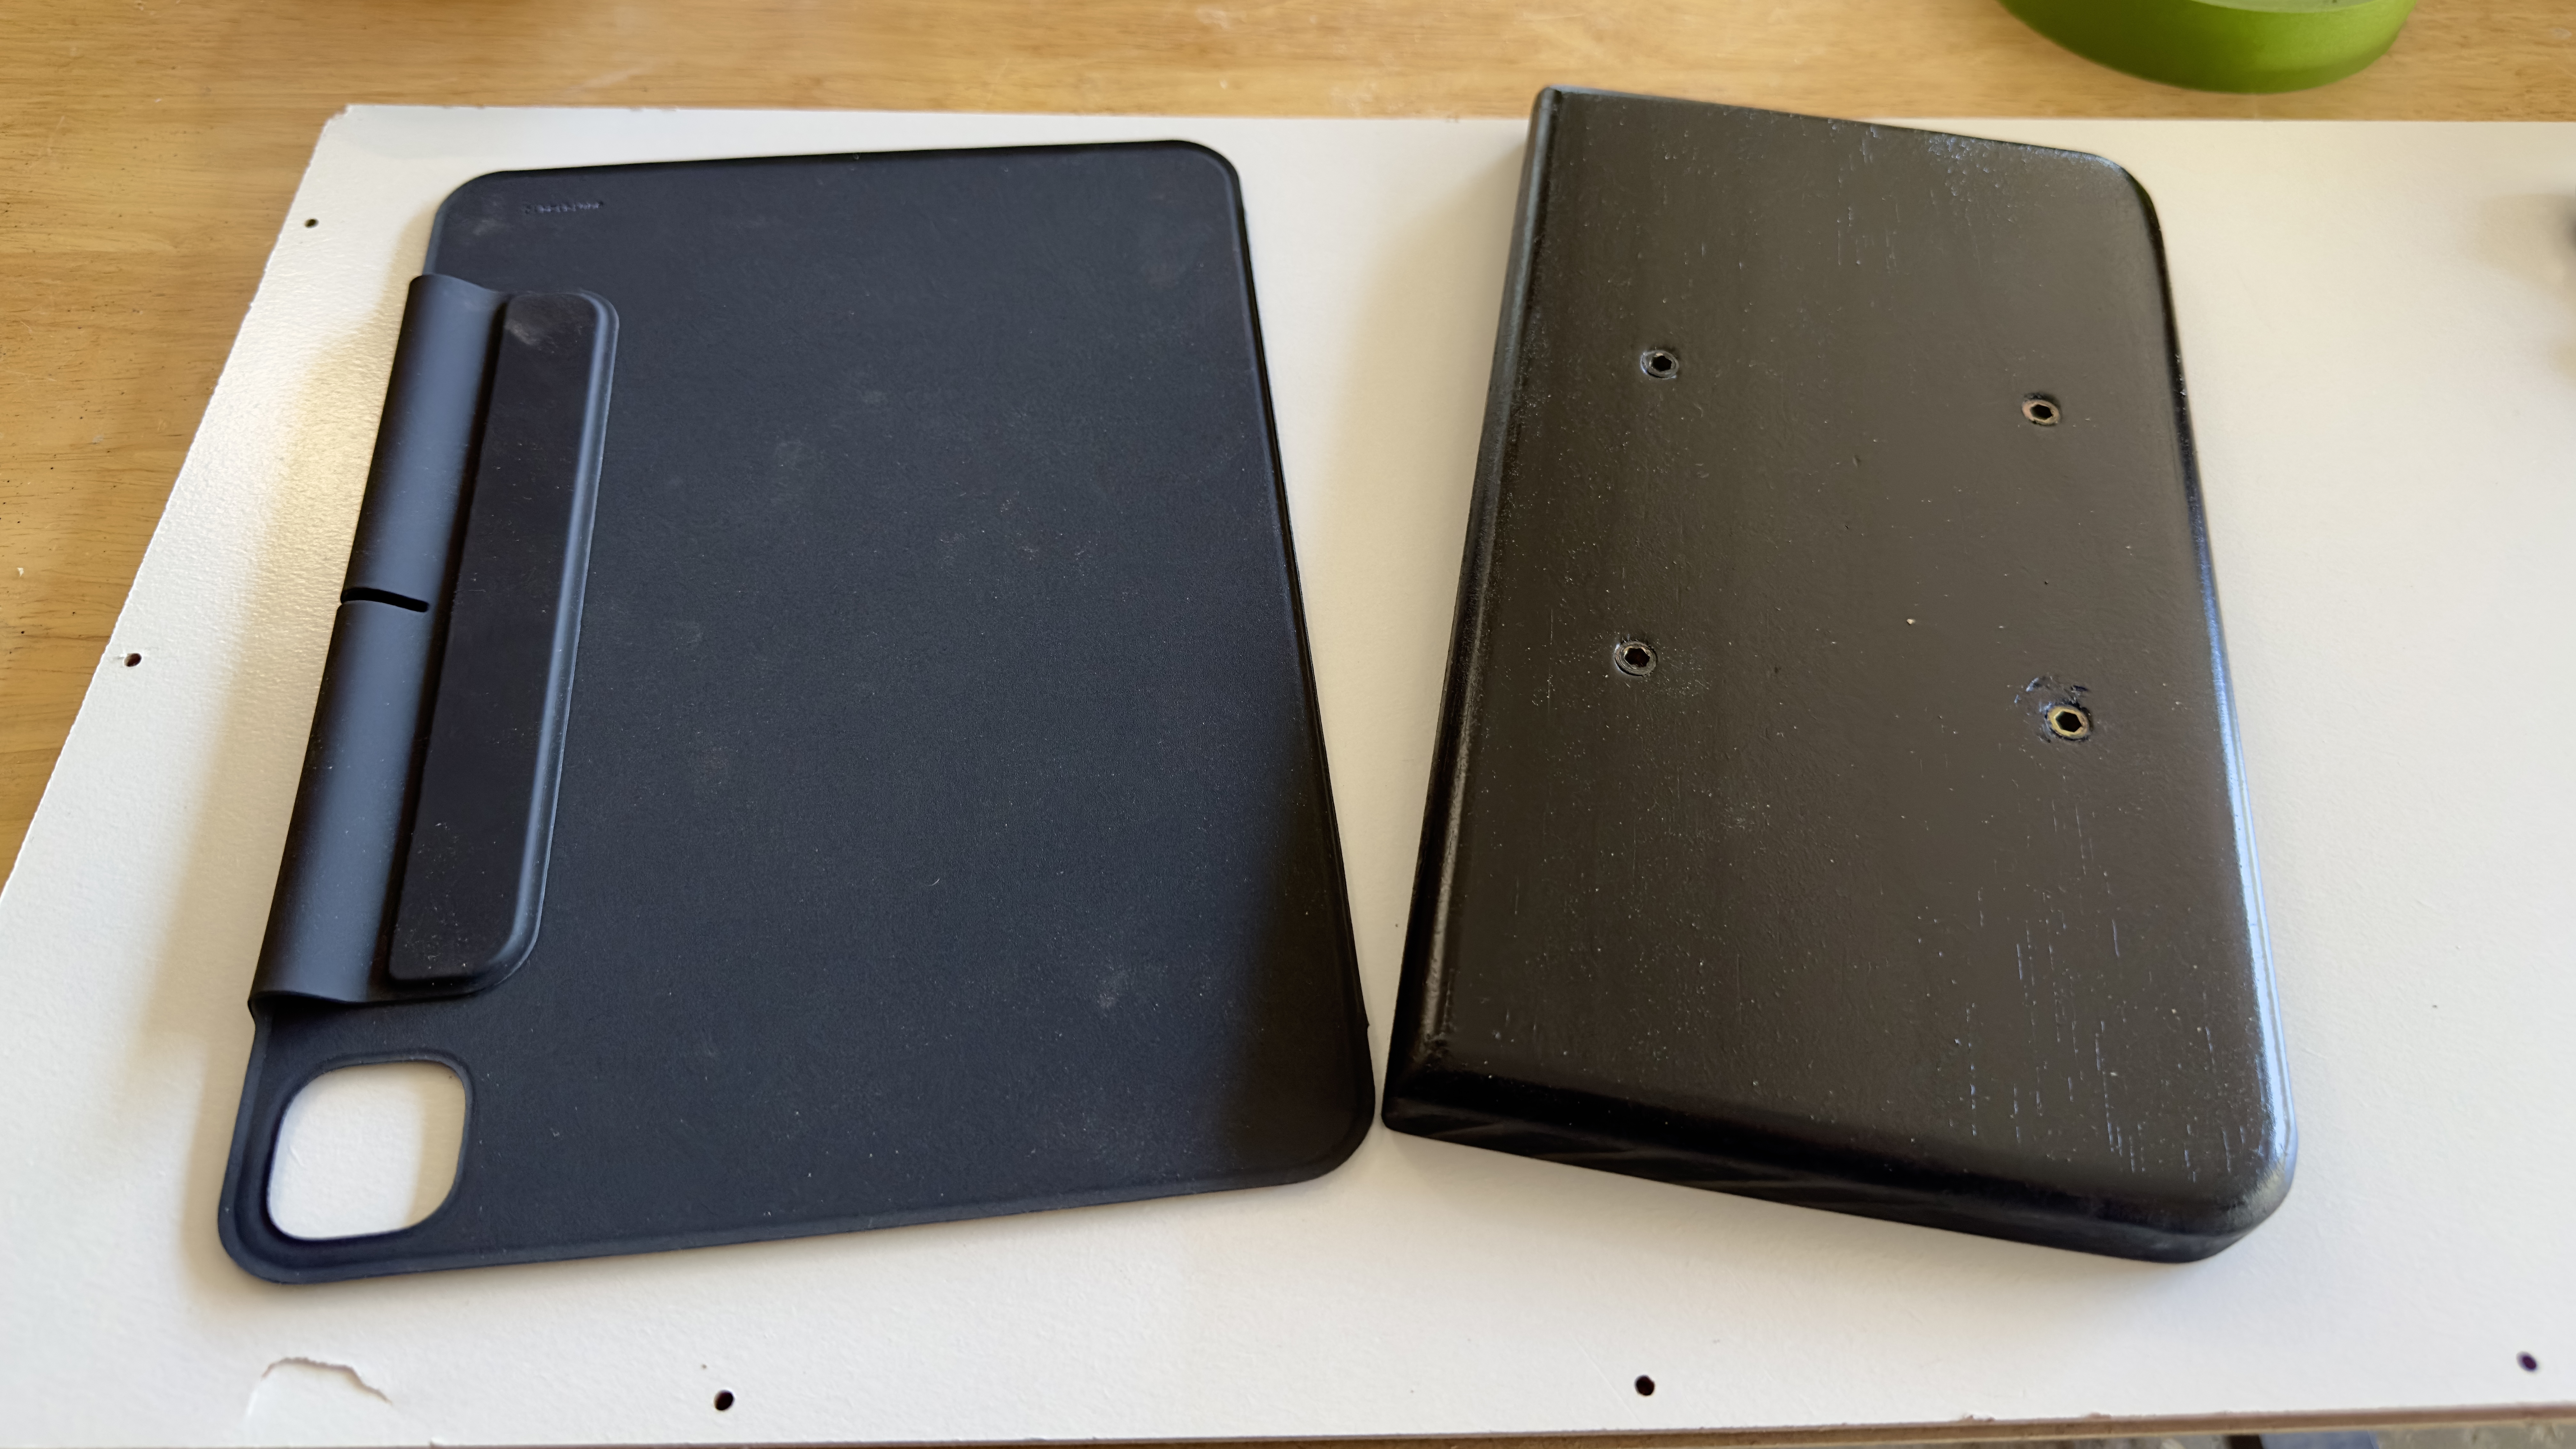
Then, I found a scrap piece of 1" x 8" pine. You don't have to use pine: you could use plywood or other hardwoods that you might have. I cut it to the length and width of the folio, cutting the width just under the camera opening of the folio case. Once this was cut, I located the VESA mount holes and drilled a pilot hole for the threaded inserts. I sanded the corners and the piece, then routed the back side to give it a more friendly edge, though routing is not a necessity. A quick sanding and black spar paint finished off the wood part of the project.
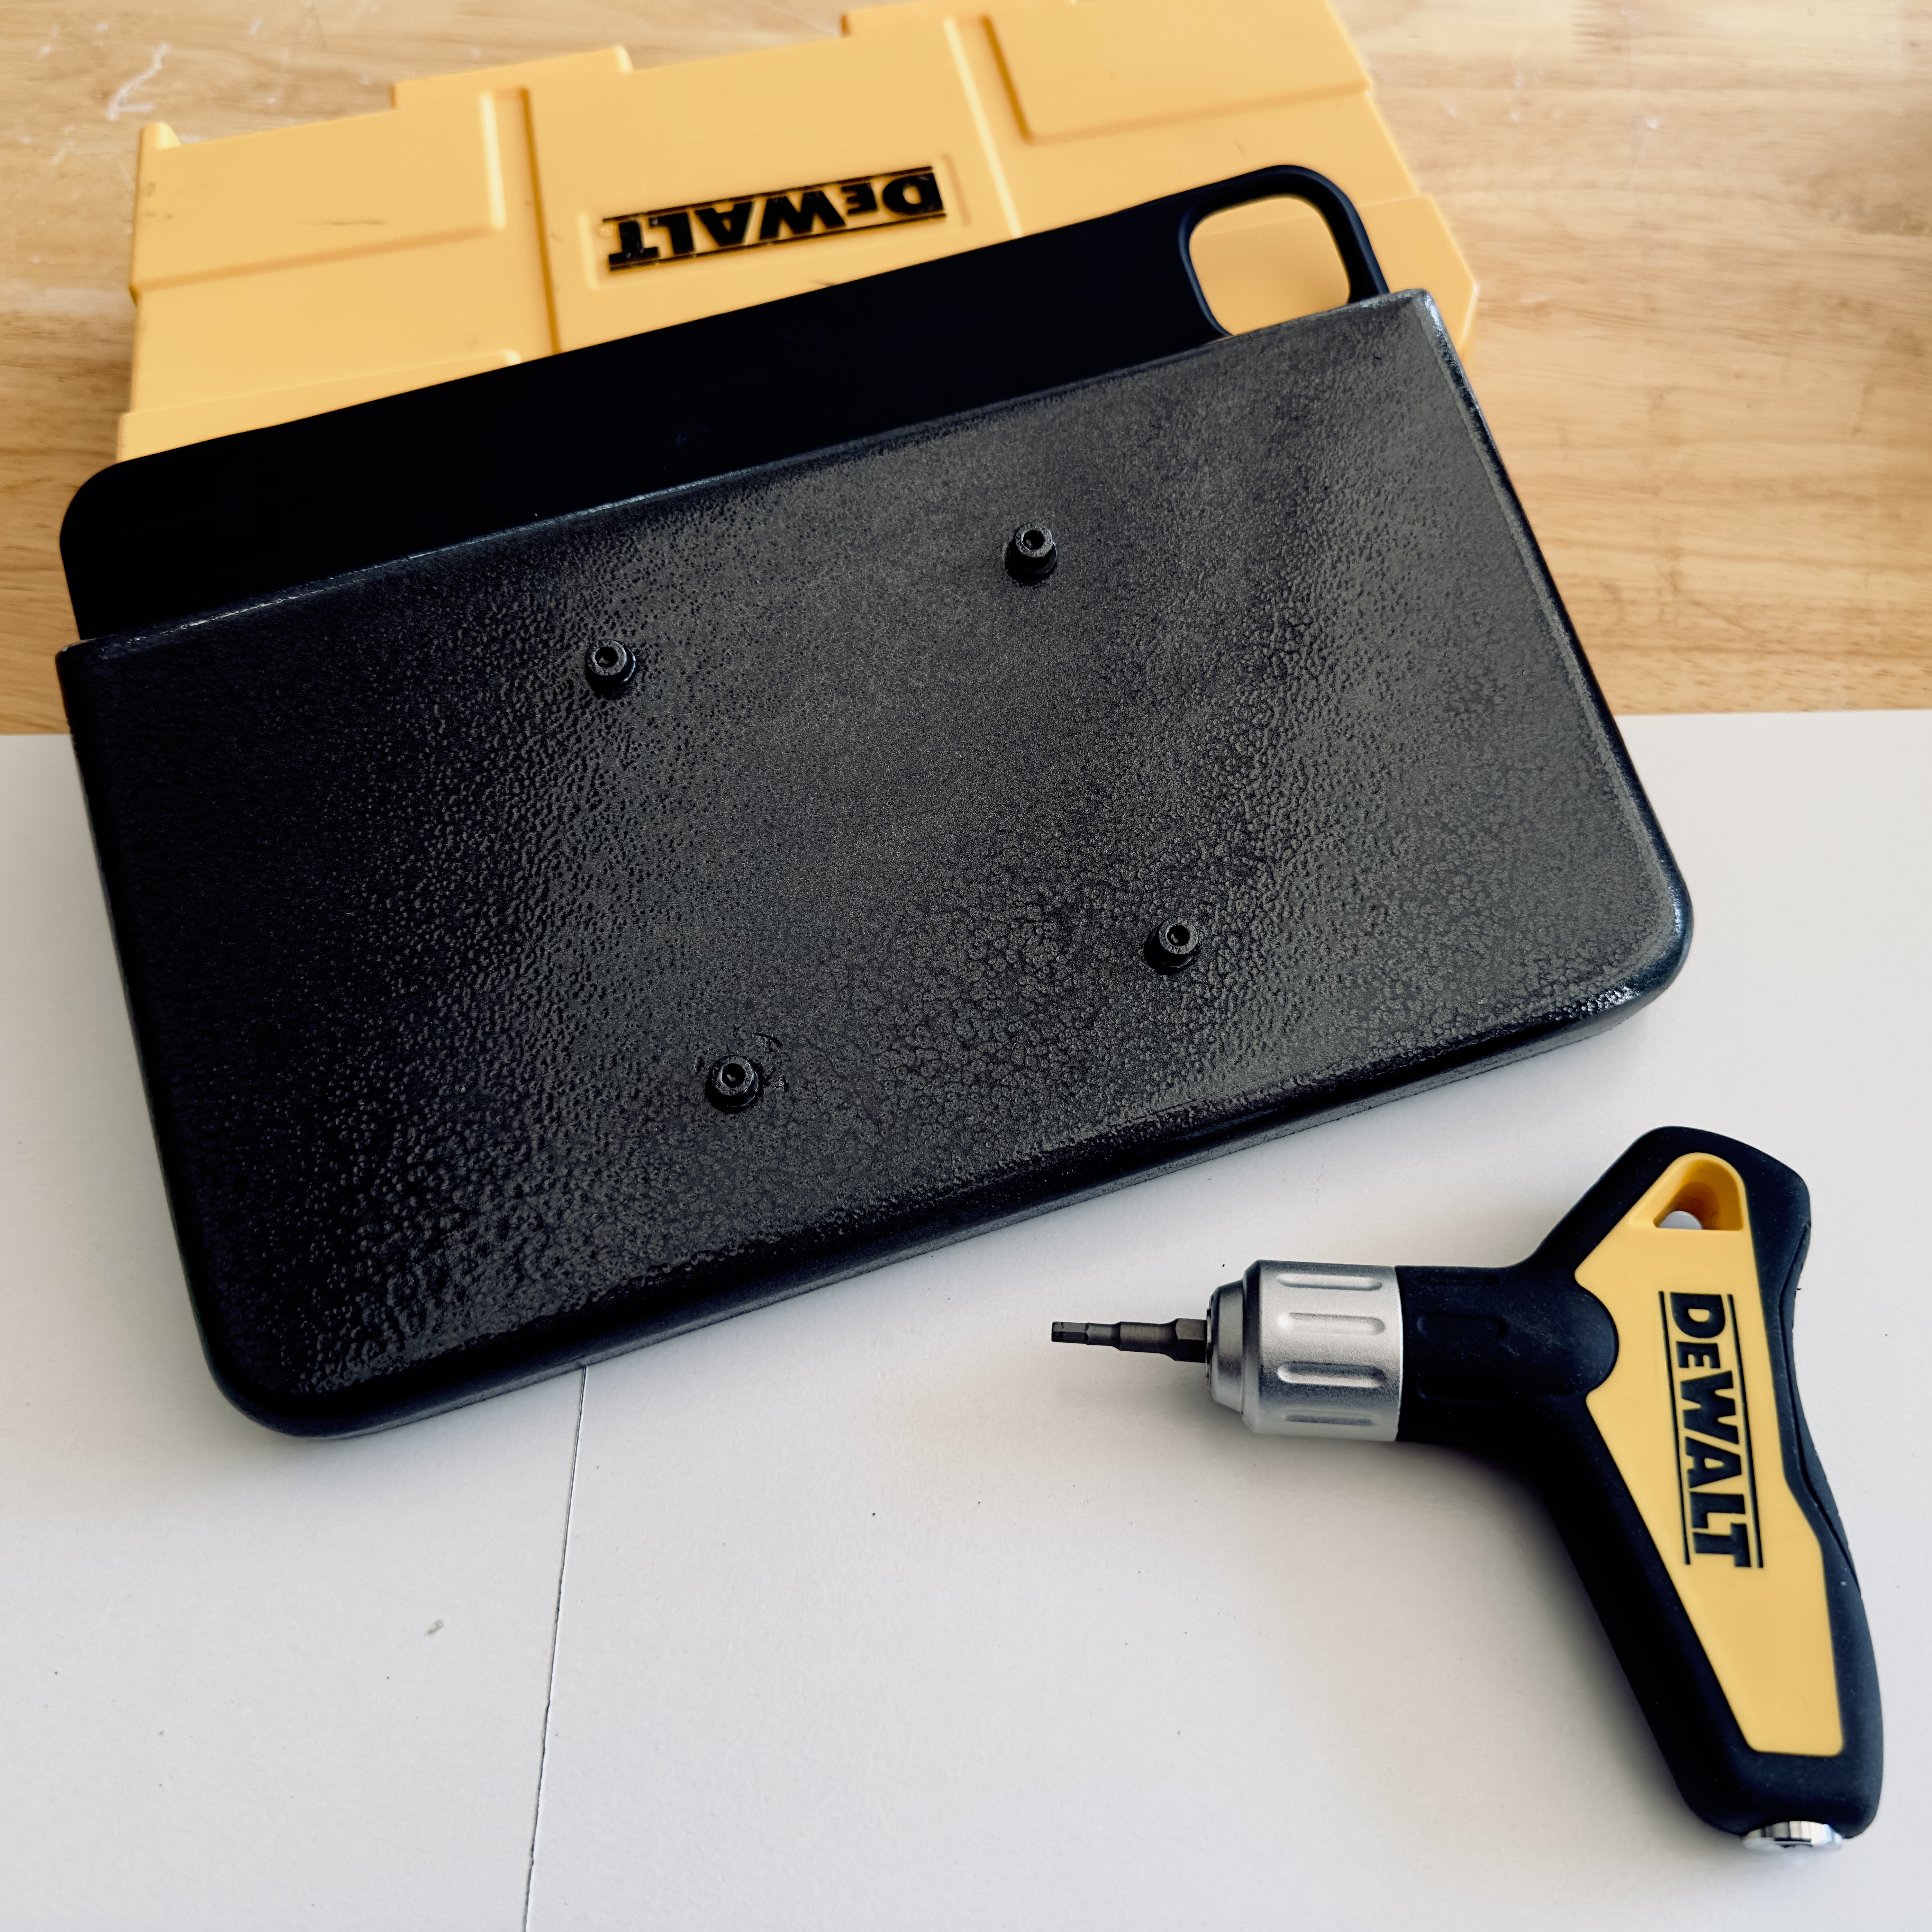
With the board painted black, the threaded inserts installed, the back of the folio case super glued, and everything fully dried, all I needed to do was attach the mount plate and put it on the arm. I ended up adding some cable management for the USB-C cable to make it super clean.
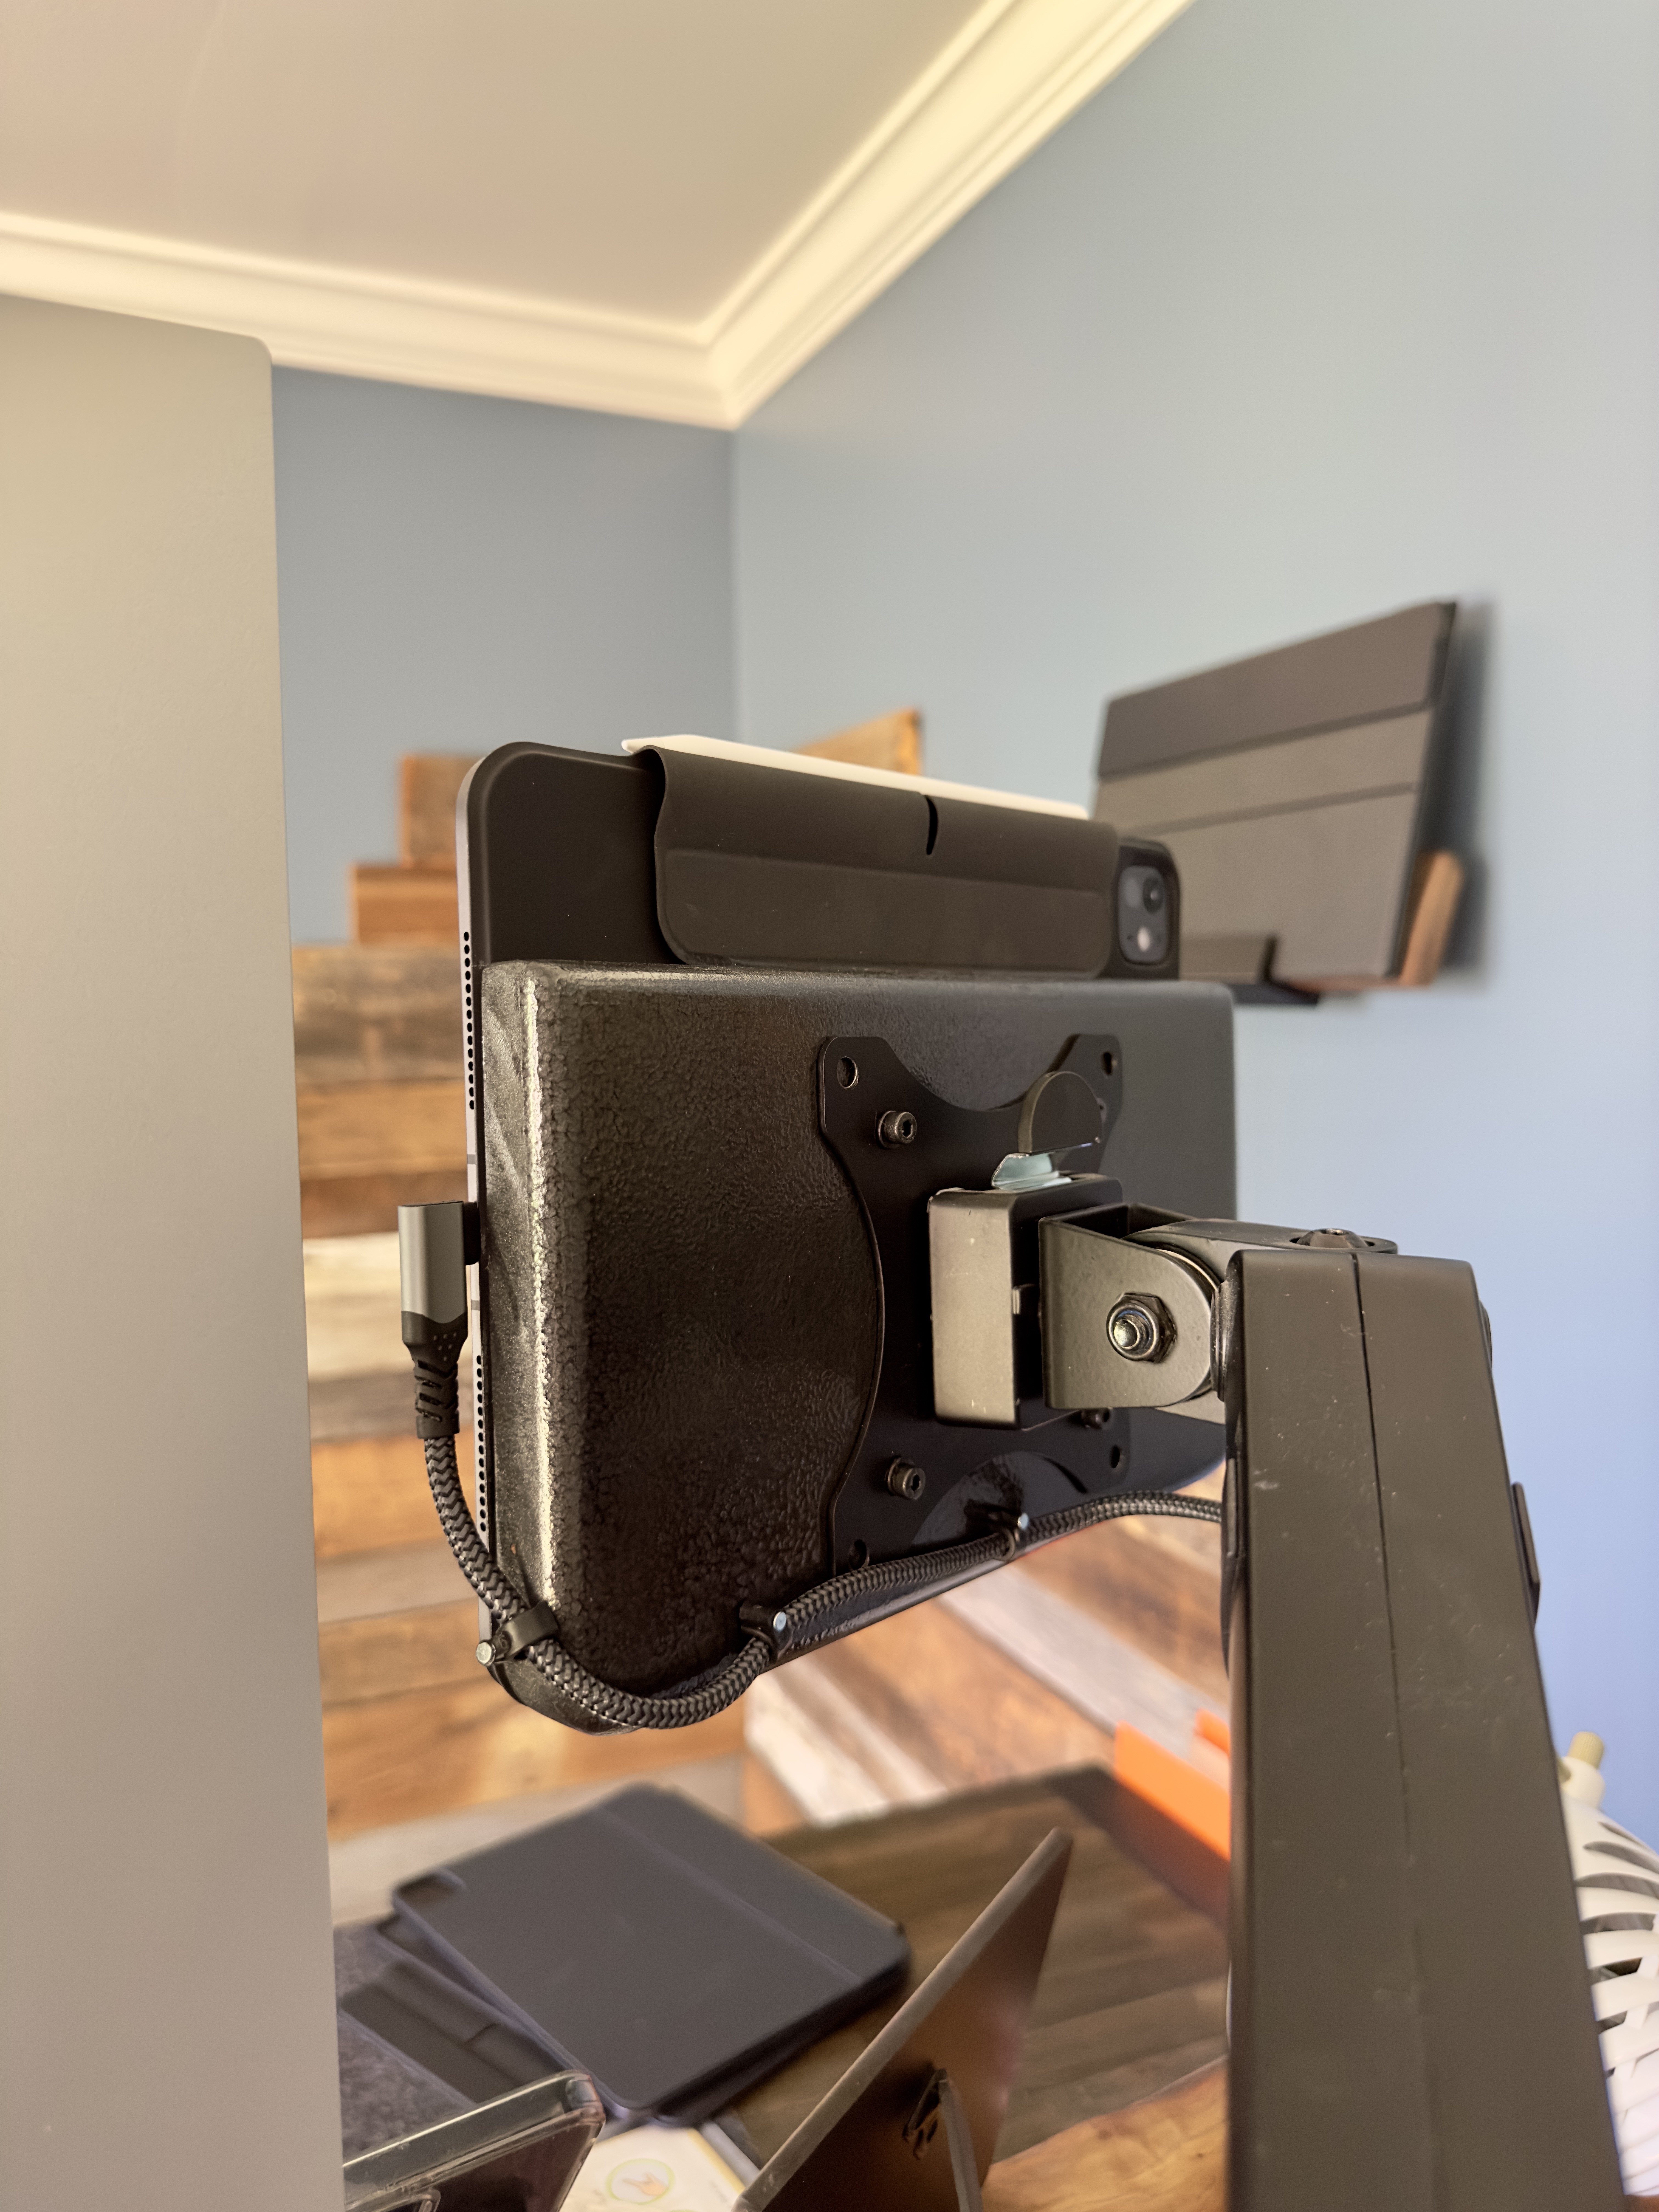
I think this is just about the most simplistic build that could be done for this, and what most people would be best served by. I could have done a few things differently to allow for a super-slick hidden cable management system, but in practice it's perfectly fine. I'm sure that there are other material options here instead of using wood based on your own aesthetic - like 3D printing – so use what you think might be best. Fun little project, and it saved me a bunch of time and money waiting on someone to make it for me.
